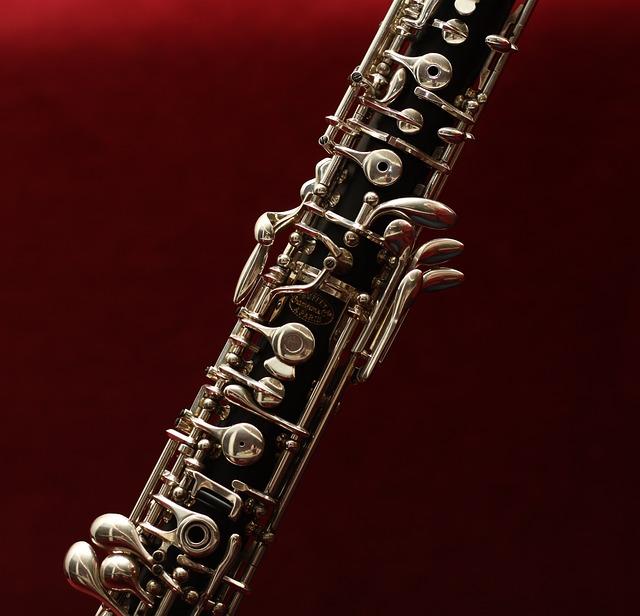
Few music teachers would deny that the oboe can be a challenging instrument to play well with respect to proper intonation and technique. We spoke to Dr. Sarah Hamilton, associate professor of oboe at the State University of New York at Fredonia to get her insight into ways to help young oboists fix some of the more common problems associated with the instrument.
Oboe Reeds and Their Selection
No discussion of playing the oboe would be complete without first discussing reeds. Hamilton has a few significant thoughts as they relate to reeds and reed selection. “On a clarinet you gradually advance to harder and harder reeds. On the oboe I personally have never played on what I would call a hard reed. In my opinion there is no real benefit to going with beefy, hard reeds if the student is struggling.” Aside from the hardness there is also the distinction of how the reed has been made in the first place. You can buy reeds that are fully machine made (cheaper), hand made (expensive) or some brands that are machine made and then hand finished. Hamilton recommends the latter as they tend to be the best for beginners and are a good value for the money. She also suggests starting with American scrape reed styles rather than European reeds. She also recommends that students rotate between 3-4 reeds soaking them in water, rather than just the mouth, to extend their life.
Hardware Problems With The Oboe A Significant Issue
Hardware problems can also be a significant issue that can drive a student to frustration if not caught and fixed in a timely manner. At the very first lesson she always tests the student’s instrument by playing on it to make sure it is functioning properly. She also suggests using a repair shop that has lots of experience working on double reed instruments. “Not all repair shops have people that know how to fix and adjust an oboe properly.” She recalls many occasions where a student has been told by the repair shop that everything is fine, laying the blame on the reed or on the student’s embouchure. “I can’t tell you how many times I have changed someone’s life by just twisting a screw.”
Embouchure Formation On The Oboe
Once the reed and instrument are in good working order producing the proper embouchure becomes the next essential task. “I try to get a student to realize how they tune a note by rolling the reed into or out of the mouth on the lips. Rolling in with an ‘Eee’ shape to the embouchure brings the pitch up while rolling out with an ‘Ooo’ shape takes it down. They need to realize and understand how that part of oboe intonation works.” The embouchure is only one part of the mix however, as good tone quality is ultimately built on a solid air support system. “We don’t tune with our air we tune with our face. Don’t let kids try to play flatter by blowing less, it has to be an embouchure change while keeping the air support going.”
NOTE: This article originally appeared in NAfME's Teaching Music Magazine and is published here by the original author under agreement from NAfME. For information regarding reprints or reuse of this article please contact NAfME.

